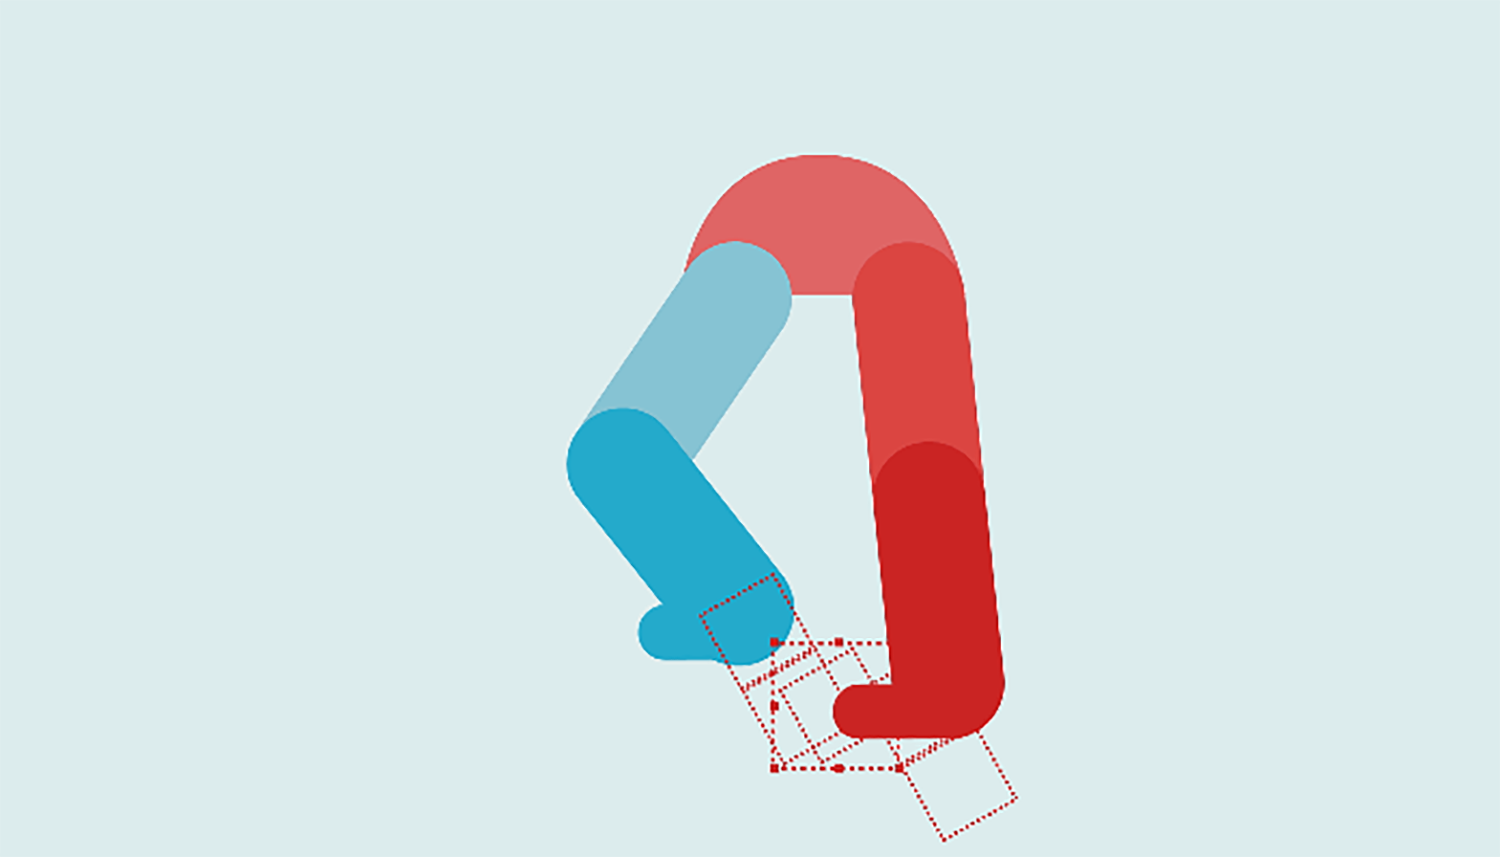
Animation director Garth Lee‘s step-by-step guide on how to master every beginner’s kryptonite, the walk-cycle.
For many motion graphics designers and animators, learning how to animate the walk-cycle is one of the most time-consuming and tedious tasks. Each character will react differently when rigged, and as such, there isn’t really a foolproof method that works every time. Some characters are prone to leg popping, others have exaggerated proportions that won’t allow for a standard walk-cycle.

I don’t have a magic solution for that, but what I have figured out, is an incredibly quick method of getting a rigged character walking in just a few clicks. Before I go on though, I must stress that by no means is this a replacement for learning how to animate the walk-cycle decently. It mainly serves as a quick dirty fix to get a character walking fast, if time or budget is tight, or if you just struggle with walk-cycles altogether.
Also, this tutorial assumes you know the basics of rigging a character using DUIK. If not, you can download it here, and you can find the tutorials for it here. It’s an incredibly powerful plugin that I would recommend to anyone using After Effects, not just character animators.
STEP 1
Rig up your character’s legs as normal using DUIK tools. This will create 2 Controller Nulls (let’s call them both controllerNull) to manipulate the position of the legs (make sure the ‘Auto-Stretch’ check box for each Controller Null is switched off as it’s important that the legs don’t stretch for this technique to work).

STEP 2
Create a new Null (let’s call it walkNull), and place it exactly halfway between the controllerNulls. Then parent your controllersNulls to the walkNull.

STEP 3
Now Rotate the walkNull for the quickest walk-cycle you’ve ever made. As you can see, the results aren’t perfect, the blue leg is never further forward than it’s vertical position, and the red leg is never further back than it’s vertical position. This is because each controllerNull is rotating around a common centre that isn’t quite correct for either leg.

STEP 4
If we position our legs on top of each other to create a full side angle character, you’ll see that the technique works much better, this is because the controllerNulls can now orient a common centre that works for both legs.

STEP 5
Now that we have learned how to animate the walk-cycle and it’s working (from the side angle), simply alter the scale of the walkNull to change the step size for your character, you can even bring it to a stand still by scaling it down to 0%.

STEP 6
In order for this rig to work properly for our 3 quarter angle character, we now need to do some simple parenting. Firstly, you’ll need to arrange the legs into their ‘extreme’ poses (i.e. one leg fully extended forward, the other fully back), then duplicate the walkNull, so you now have one for each foot. Place the two walkNulls right over the rotation point for each leg (below).

STEP 7
Parent each controllerNull to their respective walkNulls. You can now rotate these independently to control each leg.

STEP 8
Create a new Null and place it between the two walkNulls, we can call this masterNull. The masterNull will serve as the main driver for the rotation of the legs, and also their position along a surface later in this tutorial.

STEP 9
Alt-click on the rotation parameters of the two walkNulls, and pick-whip their value to the rotation value of the masterNull. This allows our masterNull to drive the rotation of each walkNull around their own axis simultaneously, not the axis of the masterNull. You’ll notice this rig moves much more naturally than the rig we made in step 3.

STEP 10
Now for some real magic. Pay attention as it gets a bit messy now. But with some simple scripting, we can drive the rotation of the legs by the position of our masterNull, eradicating that common ‘foot slide’ you often get when animating walk cycles.
Firstly, you need to duplicate the masterNull (let’s call this positionNull), here you’ll see I’ve enlarged it to distinguish from the original (below). Now you must parent the two walkNulls, the masterNull and the pelvis shape to the positionNull. Finally, pick-whip the rotation parameter of the masterNull to the x-position of the positionNull.
The below animation consists of just 3 keyframes!

STEP 11
If the feet are sliding around a little, you can add a simple multiplier onto the end of the masterNulls rotation script. Speed it up by multiplying by a value greater than 1. Slow it down by multiplying by a value less than 1 (but greater than 0). Below I’ve added a *0.5 multiplier to slow the rotation of the feet.

And here (below) I’ve added a *2.0 multiplier to speed up the rotation of the feet.

Luckily the rotation speed was just about right at the default value, so I didn’t need to use a multiplier.
STEP 12
Lastly, you can add secondary animation to this rig just like you would any other. As you can see below, for a little extra character, I added a simple up/down movement on the pelvis.

I hope you found this tutorial on how to animate the walk-cycle useful. If you liked it, please give it a share. I’ll be doing many more in the future! For any questions, fire away on all social media channels.
Garth
To view the original post, click here.
View more from Garth here.
Contact us about our talent here.

